
Mould in insulated bottles can spoil your drink and harbour bacteria, and it often begins with just a single trapped drop of moisture. Have you ever opened a bottle to find a fuzzy patch or a sour smell and wondered how to stop it coming back?
This post walks you through how to spot common causes of mould, simple daily cleaning steps to remove residue, and easy ways to dry bottles quickly using household tools so dampness does not return. You will also find a straightforward deep-clean and recovery routine for bottles that already show mould, helping you keep drinks safe and bottles usable.

How to spot common causes of mould around your home
Insulation can create a warm, dark space that traps moisture and encourages mould. Early signs are a faint musty smell, droplets clinging to the inner walls or a slippery film. Take the lid apart so each piece can dry, and pull out any rubber seals and gaskets to check for brown discolouration, misshaping or a lingering odour. Bottles with narrow necks, fiddly lids or internal threads can restrict airflow and hide residue, so store them with the lid off and upside down to air, and use a long-handled brush to reach the base and the threads.
Sugary, milky or protein-rich drinks can leave sticky films that feed microbes, so try to rinse bottles straight after use and give them a deeper clean when residue remains. A quick rinse can still leave behind biofilms that later cause odours, so dislodge any build-up by soaking the bottle in warm water with a splash of white vinegar or a little bicarbonate of soda, then scrub well with a long bottle brush, paying special attention to lids and spouts. After washing, allow lids and other parts to dry separately, and store the bottle upside down to keep air flowing and avoid trapped damp.
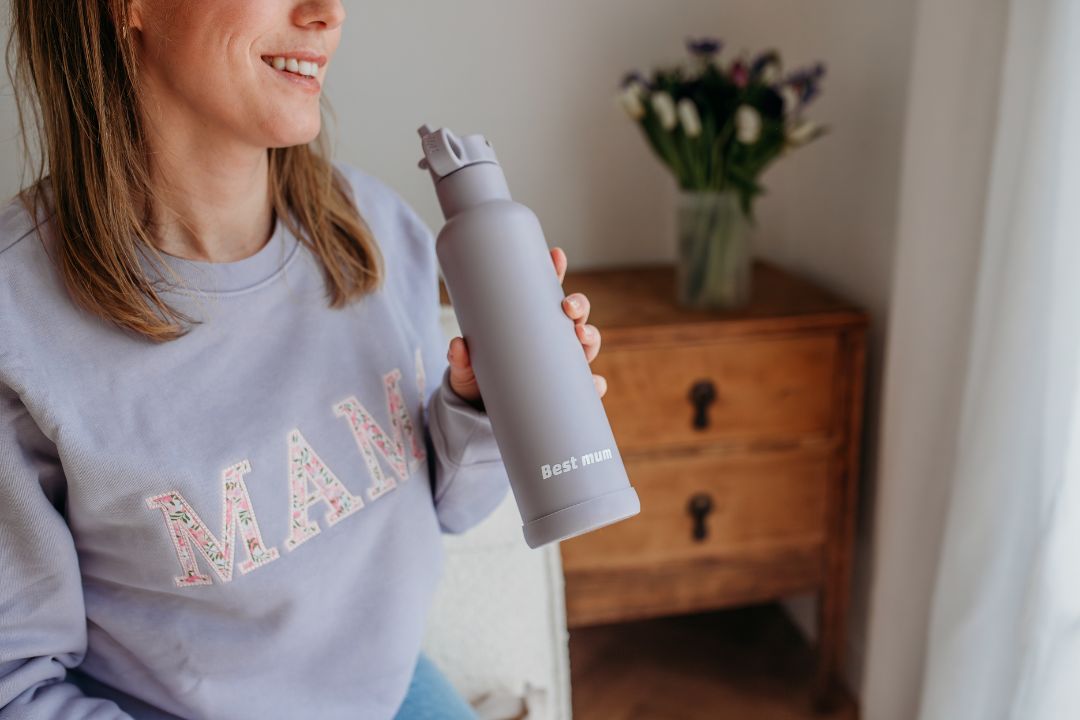
Includes a long brush to clean hard-to-reach places.

How to keep lunch boxes clean and avoid residue build-up
For a quick daily clean, take the lid apart and rinse all the pieces in hot water. Add a few drops of mild detergent and give the interior and the lid crevices a good scrub with a long bottle brush and a small lid brush or an old toothbrush. A bit of scrubbing lifts sticky sugars and oils that can feed mould, so agitation matters more than soaking alone. After washing, turn the bottle upside down with the cap off and stand the lid parts up to air dry. Pat silicone seals and spouts with a clean cloth to remove any trapped water, because insulated bottles restrict airflow and any leftover moisture creates the damp conditions mould needs to take hold.
Remove spouts and straws and clean them separately. Push a thin straw brush or a flexible pipe cleaner through narrow channels, and use a small brush or a toothpick to clear textured mouldings where residue can hide. For a deeper clean, soak parts in a food-safe acidic or alkaline solution, such as diluted white vinegar or a bicarbonate of soda mix, then rinse thoroughly and repeat the mechanical scrubbing. Acids and alkalis help break down proteins and oils that cling inside bottles, so a soak followed by brushing usually works better than rinsing alone for stubborn stains and smells. Check silicone gaskets and seals for discolouration, softening or pitting and replace any parts that show wear. Visible mould, a persistent musty smell or roughened seal surfaces are signs of material failure or entrenched contamination that routine cleaning will not remove. A quick inspection now and then keeps things hygienic and makes everyday life a little easier.
Includes straw brush for quick, effective cleaning.

How to dry bottles quickly using simple household tools
A quick, mum-friendly routine: rinse the bottle and shake out any excess water, then disassemble caps, gaskets and seals. Invert the bottle on a drying stand or dish rack and lay smaller parts flat on a clean tea towel to expose trapped surfaces and help them dry without special products. Wrap a clean, absorbent cloth around a long-handled brush or use a slim microfibre wand to reach narrow necks, then tip and tap the bottle to loosen droplets before wiping the interior with a dry cloth to remove any clinging moisture. Store bottles mouth up where air can circulate, or near a gentle airflow, and keep a reusable desiccant sachet in the storage area to lower humidity and reduce the risk of mould.
Take lids and gaskets apart each time you dry them. Use a cotton bud or a soft cloth to gently dry any crevices, and keep an eye out for discolouration or softening so you can replace any seal that remains stained or misshapen. Make sure everything is completely dry before storing. A uniform metallic or glass-like sheen is a good sign; give parts a quick sniff for off odours and tip the bottle to check for droplets. Run a dry cloth or your finger around the rim and base to pick up any cling moisture, then store bottles upright with caps off, or keep caps and bottles apart to avoid trapped dampness. These simple steps reduce lingering moisture and give you clear signs when a part needs extra cleaning or replacement.
Quick-dry methods, small part care, and storage checklist
- Rinse and shake out excess water, disassemble caps, gaskets, and seals, then invert bottles on a dedicated drying stand or dish rack; use a long-handled microfibre wand or slim brush wrapped with a clean, absorbent cloth to reach narrow necks, tip and tap to expel droplets, and wipe interiors with a dry cloth to remove cling moisture.
- Take lids, gaskets, and seals apart every time, dry crevices with a cotton bud or small folded cloth, and inspect for discolouration, softening, or deformation; replace any part that remains stained or fails to return to shape.
- Confirm dryness before storage by checking for a uniform metallic or glass sheen, sniffing for off odours, tipping to see if droplets appear, and running a dry cloth or your finger around the rim and base to catch cling moisture.
- Store bottles upright with caps off, or keep caps and bottles separated to avoid trapped dampness; position them where air can circulate or near a gentle draft, keep a reusable desiccant sachet in the storage area to lower ambient humidity and reduce mould risk, and inspect periodically for damp smells or spotting.

Keep bottles dry to prevent damp smells and mould
After washing, take the bottle apart and remove lids, gaskets and any straws. Use a narrow bottle brush to scrub the inside, then rinse thoroughly. Organic residue can collect in crevices, so physically removing deposits prevents the food source mould needs to grow. Tip: shake out as much surface water as you can, then place the bottle upside down on a drying rack or a clean tea towel so it can air-dry. Leaving bottles with the cap off encourages airflow and stops condensation becoming trapped inside insulated walls.
Dry and clean seals and caps separately. Check the threads and silicone rings for trapped moisture or discolouration, and pat away any dampness with a clean tea towel or by propping the lid slightly ajar. Store bottles upright with the lids off in a well ventilated cupboard or on a drying rack rather than in airtight containers or tossed in a gym bag. For extra drying power, tuck in a reusable desiccant sachet or a clean, dry cloth. Before use, give the bottle a quick sniff and a look inside; if you detect an odour or a film, give it a gentle wash with warm soapy water and a soft brush. Every so often, do a deeper clean with a diluted white vinegar or bicarbonate of soda solution, then rinse thoroughly and dry to remove any slimy build-up before it turns to visible mould.
Choose a bottle with its own cleaning brush.
How to safely clean and restore mouldy bottles
Moisture can linger inside insulated bottles, which makes them a bit more likely to develop mould. The vacuum slows evaporation, and inner seams, silicone gaskets and tiny scratches can trap moisture and food residue, so drying matters just as much as cleaning. To deep clean at home, take all removable parts apart and give threads and corners a good scrub with a bottle brush and a paste of bicarbonate of soda and water. Pour a little white vinegar onto stained areas and wait until it bubbles to help loosen grime, then rinse everything thoroughly. Shine a bright light into crevices to check for any remaining residue. If black or brown spots remain after cleaning, a musty smell lingers after rinsing, or seals are cracked or pitted, these are signs of trapped biofilm or damaged parts. Replace or recycle those components rather than risk using them.
A handy way to stop regrowth quickly is to give the bottle a good shake to get rid of excess water, then wipe the inside with an absorbent, lint-free cloth on a bottle brush. Remove seals and air them separately, and store the bottle upright with the cap off so it can breathe. Rotate any spare seals so every part can be cleaned properly, and rinse out sweet or protein drinks straightaway, leaving the bottle to ventilate between uses to reduce residue build-up. An occasional vinegar rinse after cleaning will help discourage mould and break down lingering deposits without harsh chemicals. If the problem keeps coming back, replace the seals or the bottle, as cracked materials and tiny pitting can continue to trap spores and encourage biofilm.
Mould in insulated bottles usually starts where moisture and residue linger, so removing deposits, drying bottles thoroughly and checking seals helps stop it taking hold. A quick, simple after-use routine does the trick: rinse the bottle, give the inside a good mechanical scrub with a long bottle brush, take lids and seals apart, and leave everything to air dry. This breaks down biofilm and removes the nutrients mould needs, keeping bottles fresher and safer for family use.
Recognise the early signs of wear, give the bottle a quick clean each day, leave it to dry in an airy spot, and deep-clean or replace any worn seals. These simple steps help keep drinks tasting fresh, reduce waste and mean you can feel confident the bottle is ready for the next use.