

Fed up with your coffee going lukewarm by mid-morning? Whether it’s a travel mug on the school run or a flask in your bag, the material, insulation, and a few simple habits decide how long a drink stays hot.
In this post we'll walk through choosing the right materials and insulation, preheating and filling to lock in warmth, sealing lids and packing bottles to minimise heat loss, and cleaning and maintaining seals. We also cover safety checks, troubleshooting common problems, and simple sustainable habits to reduce waste. Apply these practical steps to slow heat loss, cut unnecessary waste, and lower the risk of spills and scalds.
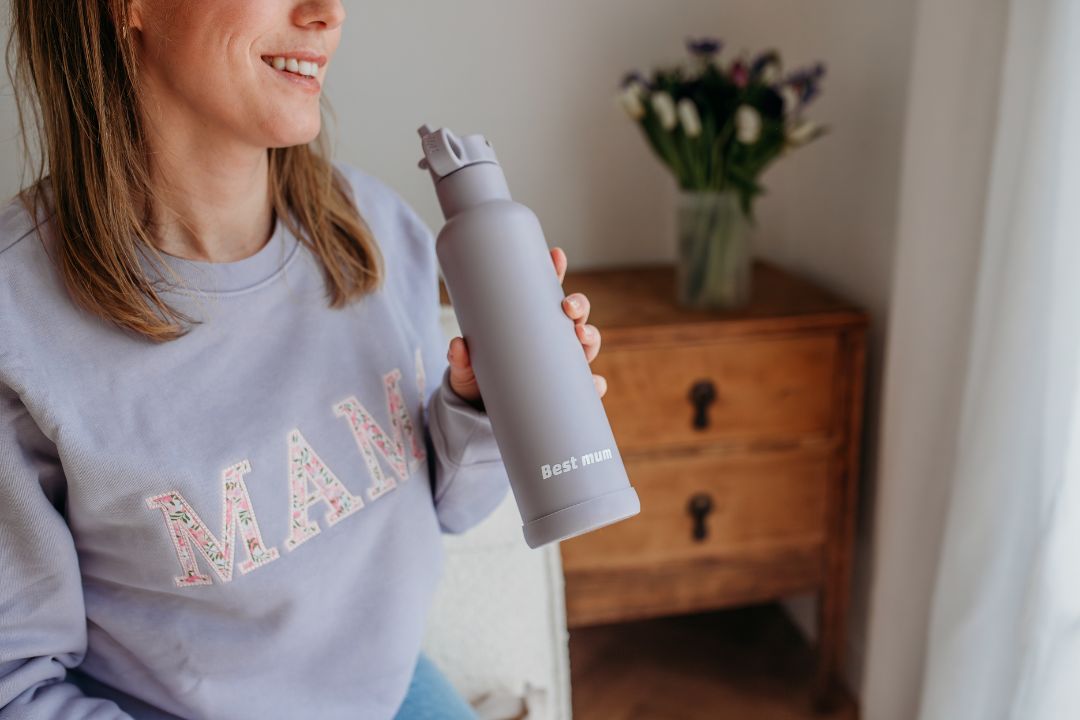
Choose materials and insulation that keep lunches warm longer
Insulation style makes the biggest difference. Vacuum, double-wall, and single-wall constructions cut heat loss by limiting conduction, convection, and radiation. Vacuum-insulated, double-wall stainless steel typically retains heat best, keeping food and drinks warmer for longer. Ceramic or glass linings preserve flavour better, but they sacrifice insulation. Material properties matter as well: materials with low thermal conductivity, high specific heat, and greater thermal mass change temperature more slowly. In practice, metals in vacuum configurations outperform thin aluminium or plastic when insulation is poor.
If you want drinks to stay hot for longer, start with the lid and closure. Heat escapes into the air and when hot liquid evaporates, so choose tight, threaded lids, reliable silicone seals, and small drinking openings. Keep the lid closed between sips to trap steam and reduce heat loss. When carrying drinks in cold weather, add an insulating layer: a neoprene or fabric sleeve, a cork or foam band, or a simple wrap. These layers trap a pocket of air around the vessel and slow surface heat transfer. For best results, pre-warm the container with hot water, fill it close to the brim to minimise the air gap and evaporation, and check the seals regularly—clean or replace any that are worn to maintain a tight closure.
Keep drinks hot longer with vacuum‑insulated ceramic lining

Preheat your mug before filling to keep drinks warm for longer
A cold mug and the air trapped inside draw heat from a hot drink through conduction, convection, and radiation. Preheating the mug raises its thermal mass, so the drink loses heat more slowly at first. To preheat a mug: 1. Pour very hot water from the kettle into the mug. 2. Swirl the water so the interior and rim warm evenly. 3. When the lining feels warm, discard the water. 4. Pour in your hot drink straight away, filling as close to the rim as practical. 5. Secure the lid immediately, and keep the closure shut between sips to reduce convective and evaporative heat loss. Warming the vessel first reduces the temperature difference between drink and mug, which means less heat flows out and your drink stays hotter for longer.
After preheating the vessel and before you pack a hot lunch, a quick check of the lid gasket can make a noticeable difference. Clean or replace worn seals, and dry the threads and flanges so the lid seats properly and traps warm air. Vacuum insulation reduces heat transfer by limiting conduction and convection. Reflective linings and thicker walls slow radiative heat loss. By contrast, single-walled metal, glass, and ceramic containers let heat escape much faster. Use these facts to set realistic expectations: insulated, vacuum designs retain heat for much longer, whereas single-walled containers will cool noticeably sooner.
Keep drinks hotter longer with vacuum insulation.

Seal lids and pack bottles tightly to keep lunches and drinks warm
Screw the lid on and close any vents fully. Test the seal by filling the container, securing the lid, and turning it upside down over the sink. A tight seal keeps heat in and stops hot steam escaping, helping your food or drink retain heat. Keep the gasket and the lid threads clean and intact. Inspect them for cracks or trapped debris, and clean with warm water and a soft brush to help the container perform as designed. Replace any damaged seals promptly, as the outer shell alone cannot make up for a broken gasket. Fill as high as you can without spilling to minimise the air gap. Large pockets of air let heat circulate and speed up cooling, so reducing headspace helps preserve temperature.
To keep drinks warm for longer, pack bottles upright in a dedicated pocket, an insulated sleeve, or wrapped in clothing. That prevents sloshing against colder surfaces, which draws heat out of the liquid. Try to limit how often you open the lid: each opening lets hot vapour escape and the drink cools quickly. When you can, pour into a cup and sip, open bottles slowly to relieve pressure, reseal straight away, and plan portions so you reduce the number and length of exposures.
Seal, pack and serve to minimise heat loss
- Inspect and maintain seals: check gaskets and threads for cracks, flattening, or debris, clean with warm water and a soft brush, replace damaged seals promptly, and tighten lids evenly until snug to restore the container's designed thermal behaviour.
- Verify seals and reduce headspace: test a seal by filling the vessel, securing the lid, and inverting it over a sink; aim to fill as high as practical without spilling because trapped air promotes internal convection and speeds cooling.
- Pack to cut conductive and convective losses: keep bottles upright in a dedicated pocket, an insulated sleeve, or wrapped in clothing to reduce conductive contact and prevent sloshing that exposes liquid to cooler surfaces.
- Adopt serving habits that retain heat: limit the number and duration of openings, open slowly to relieve pressure and reseal promptly, plan serving sizes, and sip from a cup or pour when possible to avoid repeated vapour loss

Keep your flask insulated: simple cleaning and care tips
To keep your bottle clean and performing well, disassemble removable parts such as lids, sip valves, and silicone gaskets after each use. Wash the interior with warm water, a mild detergent, and a bottle brush, rinse thoroughly, and leave the lid off to air dry so trapped moisture cannot harbour bacteria or odours. For stubborn stains or limescale, scrub oily marks with a paste of bicarbonate of soda and water, or soak the bottle in diluted white vinegar. Bicarbonate neutralises acids and loosens oils, while vinegar dissolves mineral deposits and reduces lingering smells. Regular cleaning and complete drying stops residue building up and helps seals last longer, which preserves insulating performance.
A few simple checks will keep an insulated bottle or flask performing well for family use. Inspect gaskets and valves for splits, hardening, or distortion, and replace any worn parts, since compromised seals let heat escape and can cause leaks that speed cooling. If moving parts stick, apply a light smear of food-safe oil to threaded joints or moving seals to restore smooth operation, using only oils safe for food contact so flavour is not affected. Avoid metal scourers, strong bleach, and sudden changes between very hot and very cold liquids, because scratches, chemical damage, and thermal shock increase heat transfer and can damage the vacuum insulation. To check insulation, fill the flask with hot water and feel the exterior and the lid for unexpected warmth. Store bottles with the lids off so all components dry fully and do not develop mould or stale odours.
Choose a kid-sized insulated bottle with cleaning brush included.

How to check safety, fix common issues, and adopt sustainable habits
Check lids, seals, and venting mechanisms for cracks, warping, or blockages. Test them by filling the container with hot water and opening it slowly so any built-up pressure releases safely. A fully sealed hot-liquid container can build internal pressure and scald if opened abruptly, so make sure vents work and replace or repair damaged gaskets before regular use. Rinse an empty mug or bottle with hot water to warm the walls, then fill it with the hot drink, leaving a small air gap. The trapped steam helps equalise the temperature between the drink and the container, and slows heat loss, helping the drink retain heat.
Try two quick checks to spot heat-loss and leaking issues. First, measure temperature: fill the bottle or mug with a hot drink, take a reading with a kitchen thermometer, then measure again after 20 to 30 minutes. The drop in degrees shows how well the container retains heat and helps you decide whether to add an insulating sleeve, replace worn seals, or tighten the lid. Second, run a practical leak test with cold water: fill the container, fasten the lid, invert it, and look for drips while pressing gently around the lid. Repeat and move water to different areas to pinpoint faulty seals. If you find a leak, reseat or replace the silicone gasket, clean the screw threads so parts sit flush, and make sure everything aligns properly. For lingering odours or residue, soak removable parts in warm water with bicarbonate of soda, follow with a dilute vinegar rinse, scrub with a bottle brush, and dry completely to prevent bacterial growth. Store containers with the lid off to air dry, replace individual seals where possible rather than the whole unit, reduce how often you open the lid during use, and carry bottles upright in an insulated compartment to conserve heat. These simple checks and habits will help you spot problems early and extend the life of your mug or bottle.
Three things determine how long a hot drink stays warm: good insulation to slow conduction and convection, a small headspace and a tight lid to trap steam and reduce evaporation, and simple maintenance so seals and vents perform as intended. Vacuum or double-wall constructions and preheating the vessel measurably slow heat loss. Filling the container close to the rim and keeping openings to a minimum also helps prevent a rapid temperature drop, useful for keeping a morning cocoa warm when you’re out and about.
Use the article headings as a simple checklist: choose suitable materials, preheat and fill bottles correctly, seal and pack them securely, and clean and inspect gaskets. Then test what works for your family by measuring temperatures after a short interval and checking for leaks and odour. Small, regular steps like these help preserve warmth, conserve contents, and prevent spills or scalds.
FAQ
What type of travel mug or bottle keeps drinks hot the longest?
Vacuum insulated, double-wall stainless steel designs retain heat best because they limit conduction, convection, and radiation; ceramic or glass preserve flavour but cool faster, while thin aluminium or plastic lose heat more quickly due to poorer insulation.
How should I preheat and fill my mug to lock in warmth?
Pour very hot water into the vessel and swirl to warm the interior, discard when the lining feels warm, then fill immediately as close to the rim as practical and secure the lid, keeping it shut between sips to reduce convective and evaporative loss.
Why are lids and gaskets important, and how do I maintain them?
Tight lids and intact gaskets trap steam and reduce heat loss and leaks; inspect for cracks or debris, clean threads and seals with warm water and a soft brush, dry components before seating, and replace flattened or damaged gaskets promptly.
When carrying a filled bottle, how can I reduce heat loss and avoid spills?
Pack the bottle upright in an insulated sleeve, a dedicated pocket, or wrapped in clothing to cut conductive transfer and prevent sloshing, limit the number and duration of openings, and open slowly to relieve pressure and reseal promptly.
Can I test insulation and troubleshoot common problems myself?
Use a kitchen thermometer to compare temperature at filling and after a short interval and perform an inversion leak test with water to locate faulty seals; for odours or scale, clean with bicarbonate of soda and diluted vinegar, replace worn seals, and check vents operate to avoid pressure build-up.