

When lunches are packed at the last minute, containers get squashed, lids leak, and favourite snacks disappear into the back of the cupboard. Could a simple, organised lunch-packing station help kids pack their own lunches and free up mornings for everyone?
You’ll find practical tips on choosing the best spot and arranging smart, easy-access storage with clear labels and visual cues, plus simple ideas for child-sized tools and routines that build independence, reduce morning stress, and encourage sustainable habits.

Create a lunch-packing station to simplify busy school mornings
Set up a child-height packed-lunch station with clear zones for staples, fresh items, toppings, and utensils. Use transparent containers or open baskets with picture labels so kids can scan options and assemble balanced packed lunches with less adult help. Pin a simple visual menu and packing checklist showing picture choices for protein, veg, carbs, fruit, and a treat, and teach children to tick items as they add them so nothing gets forgotten and variety grows. Stock the station with child-sized, easy-open containers, small portion pots, child-safe spreaders, and reachable insulated bags, so children can open, portion, and reseal without help—this cuts spills and boosts confidence. Physical zones and ergonomically sized tools reduce decisions and morning friction, so adults need to step in less often.
Batch-prep and pre-portion staples into labelled drawers or baskets, for example: washed fruit, chopped veg, cooked grains, and sealed portions of protein. Store these on a low shelf or in clear-fronted containers so children can see and choose ready portions, reducing tricky morning decisions. Set a short, repeatable packing routine and practise it through role play. Start by demonstrating the sequence, then let children pack under supervision. Gradually hand over tasks like refilling containers and ticking a simple checklist to build habit, confidence, and shared responsibility. With a visible set-up and a simple routine, children quickly learn to pack independently and mornings become smoother.
Organize child-sized portions with a leakproof four-compartment lunchbox

Choose a practical spot and layout for easy lunch preparation
Choose a low-traffic spot close to the fridge or main worktop, at a height children can reach. That keeps steps to a minimum and reduces the time perishables spend at room temperature, lowering spoilage risk. Define clear zones on the surface for spreading, assembling, and storing lunches, and protect the area with a washable mat to contain crumbs and speed up cleaning. Keep tools and ingredients at child height in labelled, transparent containers or baskets, grouped by meal component so children can find bread, fruit, snacks, and tubs without asking.
Put up a simple visual checklist or photo menu on the wall that shows balanced components and portion cues, and encourage children to tick items as they pack. That small ritual builds independence and cuts decision fatigue. Provide easy-to-open containers, reusable bags, and cloth napkins so children can manage components unaided, and keep a small rubbish bowl handy for quick tidy-ups. Label containers clearly, and keep a short replenish routine so supplies stay available. Over time, these habits help children pack more consistently, reduce last-minute searches, and cut waste from forgotten packaging.
Makes meal packing easy for small hands.

Set up smart, easy-access storage and organisation for busy family routines
Make low, open shelving with labelled, transparent tubs so children can see and reach staples, snacks, fruit, sauces, and containers. Put frequently used items at eye level to cut down on morning faff. Store matching reusable containers and stackable portion boxes in a pull-out caddy or basket, and keep a separate bin for lids and food waste to maintain a tidy workspace and speed up packing. Use simple visual prompts: a laminated picture checklist showing a balanced lunch, colour-coded labels for choices, and a marked tray or hook where finished lunchboxes are placed to confirm completion.
Teach your child a short, trainable routine and put a child-height inventory chart on the cupboard or fridge that they can tick when an item runs out. That way adults only refill checked items, cutting out last-minute searches. Keep a few time-saving tools they can use independently, for example child-safe spreaders, pre-cut fruit in labelled containers, stackable sandwiches, and an insulated compartment for chilled items. Try different layouts with your child and stick with the version they complete most reliably. Clear storage, clear labels, and a predictable routine break lunch-packing into small, repeatable steps your child can follow.
Simple systems for independent lunch packing
- Give the child a short, 3–4 step checklist they can follow each morning: choose one main, one fruit, one veg, and one drink, tick each item off the laminated chart, then place the finished lunchbox on the marked hook to confirm it is ready.
- Install waist-height shelving with clear, labelled containers grouped by category, colour-code by food type, keep lids and waste in a separate bin, and use uniform, stackable containers with rotation or expiry stickers so stock is visible and easy to replenish.
- Pre-portion proteins, snacks, and pre-cut fruit into stackable boxes, store chilled items in an insulated slot or use a frozen drink as an ice pack, provide child-safe spreaders, and label allergy-safe options clearly for safe, grab-and-go assembly.
- Teach the routine in a short practice session, use a child-height inventory chart they tick when an item runs out so adults only refill checked items, and trial different layouts with the child, keeping the version they complete most reliably.

Encourage independence with child-sized tools, clear labels, and visual prompts
Create a child-friendly station using tools that fit small hands and developing coordination: low-profile containers with easy-open lids, lightweight cutlery, small tongs or spatulas, a stable step stool, and a wide-mouthed drink bottle. Low-profile containers and smaller handles make lifting and manoeuvring easier for little hands and cut down on spills. Label bins and shelves with a consistent system of words, pictures, and colour, place labels at the child’s eye level, and use simple icons for food groups so children can find items at a glance.
Make packing a simple routine by putting laminated visual sequence cards on the cupboard door that show each step: wash hands, choose a main, add a snack, include a piece of fruit or veg, pack a drink, and close the box. Add a Velcro token or a tick box so children can mark completed steps as they go and avoid repeated checks. Design storage for reachability and flow. Keep frequently used items on a low, dedicated packing shelf, group like items in clear front-facing tubs, and provide a pull-out tray or mat to catch crumbs during transfer. Run short, supervised practice sessions and post a laminated checklist children can tick. Rotate a curated selection of choices to prevent decision fatigue, and keep a labelled spare kit with utensils, napkins, and a cloth for quick clean-ups.
Simplifies packing with lightweight, easy-open compartments.
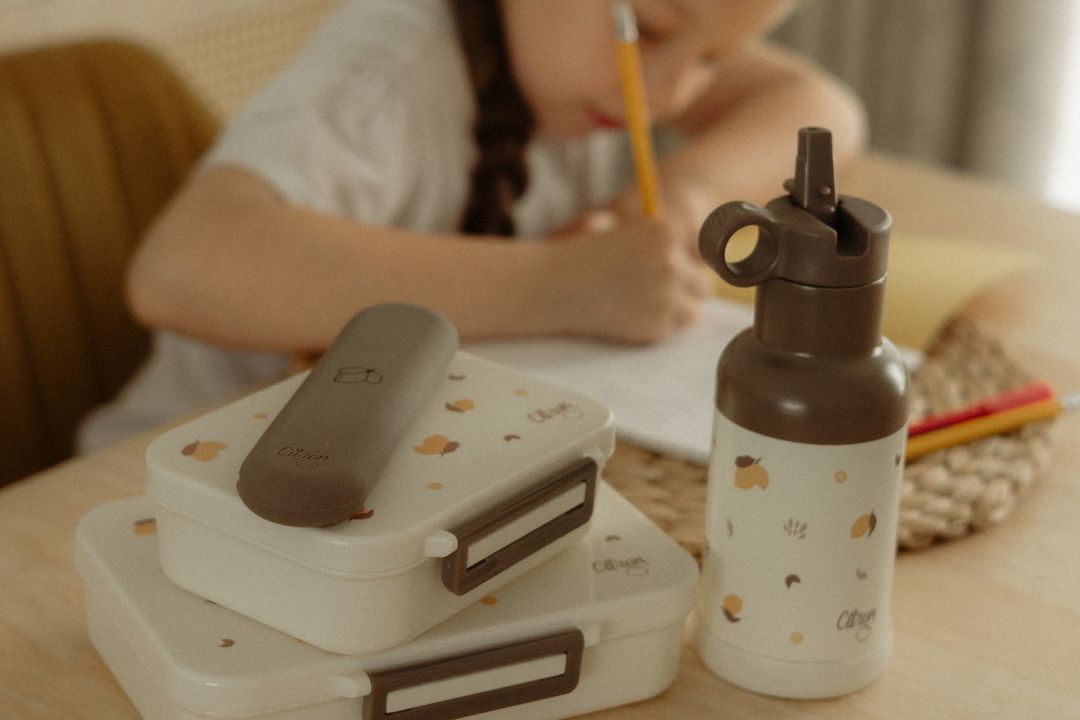
Build simple routines to boost independence and sustainable habits
Set up a lunch-packing station in three simple zones: cold items, dry items, and packing tools. Keep frequently used containers, cutlery, and drinks at child height so children can see and reach options independently. Use transparent containers and labelled baskets to make choices visible, and attach a laminated pictorial checklist with hand-based portion cues to the fridge or a magnetic noticeboard so the same balanced pattern becomes a consistent prompt. These visual aids cut down on questions, speed decision-making, and help children learn portion sizes through clear, repeatable cues.
Pre-portion fruit and proteins into reusable pots, and teach children simple sealing techniques plus a quick sight check so they can assemble lunches safely without knives. Offer just two or three curated choices per category, and set up a simple, consistent packing procedure. Praise specific actions immediately to reinforce success and build confidence, for example, say, "Nice sealing, that keeps the grapes fresh," rather than a vague "well done." Demonstrate handwashing, group chilled items together so children can see what needs refrigeration, encourage reusable containers and cloth napkins, and rotate small responsibilities so packing becomes a practical life skill.
A well organised, child-height lunch-packing station with clear zones, visible containers, and a simple pictorial checklist makes morning packing quicker and more consistent for the whole family. Combine child-sized tools, batch-prepared portions, and picture prompts so children can pack independently, reduce spills, cut down packing time, and build practical skills.
Use the layout tips, storage ideas, and routine-building steps above as a checklist when designing a station that fits your kitchen and your child's abilities. Start small, practise together, and shift responsibilities to your child in stages, celebrating the small wins so the system becomes a reliable part of your morning routine and a step towards your child's independence.
FAQ
What is the best place to set up a lunch-packing station?
Choose a low-traffic spot near the fridge or main worktop at a height the child can reach, define clear zones for spreading, assembling, and storing, and protect the surface with a washable mat to contain crumbs and speed cleaning.
How should I organise storage and containers so children can pack independently?
Use low, open shelving with labelled, transparent tubs grouped by category, keep frequently used items at child eye level, use uniform stackable containers in a pull-out caddy, and keep a separate bin for lids and food waste so the workspace stays tidy.
How can I teach my child to pack lunches reliably?
Introduce a short 3–4 step visual checklist with picture options and tick boxes, practise the routine with role-play and supervised sessions, then hand over restocking and checklist duties gradually to build habit and confidence.
Should I pre-portion food and how do I keep chilled items safe?
Pre-portion proteins, snacks, and pre-cut fruit into stackable, labelled pots so choices are ready to grab, and keep chilled items together in an insulated slot or include a frozen drink as an ice pack while teaching simple sealing techniques and a quick sight check before packing.