

Ever opened a lunchbox to find a once-warm meal gone cold and unappealing? Choosing the right-sized jar and good insulation helps prevent that: a snug jar reduces the empty air that cools food, while proper insulation slows heat loss so portions stay tasty and safe until lunchtime.
This post guides you through estimating portions by age and appetite, choosing a jar size for soups, stews or sandwiches, and prioritising insulation and materials that retain heat. It also helps you balance portability with school practicality, and offers simple packing, reheating, and cleaning routines you can test at home.

How to estimate portion sizes for children by age and appetite
Use these volume-based starting points as a practical guide. Toddlers and small children often need about 150 to 250 ml; primary-school children, 250 to 400 ml; older children and teenagers, 400 to 600 ml; and most adults, 400 to 700 ml. Adjust for activity level and reported hunger. Weigh the cooked portion, not the raw ingredients, because rice, pasta, and pulses absorb water and increase in bulk. Measure after cooking so portions match your containers. Keep a short note of typical cooked weights for your favourite recipes to speed up packing decisions.
Match the jar size to the portion so there is minimal empty space. Less trapped air slows cooling, and a snug fit helps keep food warmer. Consider the type of food and how tightly you pack it: dense, high-moisture dishes such as stews and soups retain heat better than fluffy, aerated foods like couscous, and compacting food reduces air pockets while loosely packed ingredients cool faster. If a jar leaves a lot of empty volume, transfer the meal to a smaller jar or add an insulating sleeve to cut heat loss. Run a short trial for a week, note leftovers, whether your child is still hungry, and the lunchtime temperature they find comfortable, then adjust portion sizes and insulation choices accordingly.


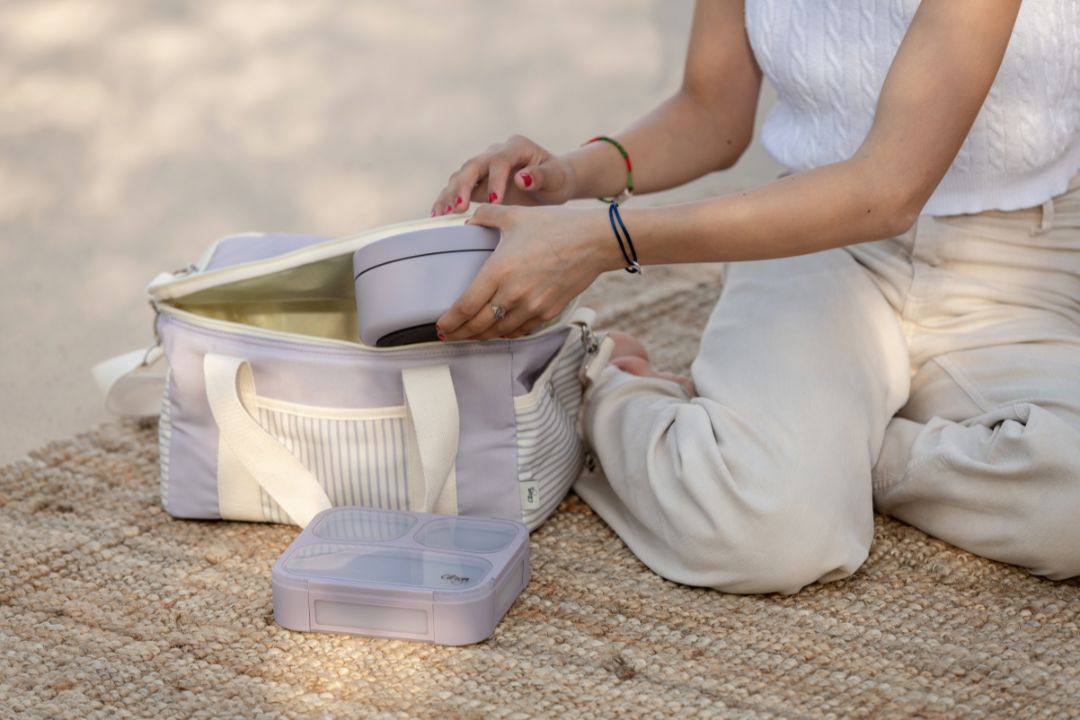
How to choose the right jar size for every meal
Choose a jar size that suits the meal and minimise headspace. Mostly fill jars for liquids, broths, and stews to reduce trapped air, but leave a small gap so steam can expand and lids can seal. Fuller jars hold more thermal mass, so they stay warm longer, while layered salads and delicate ingredients do better with a little extra room to avoid squashing. Try different fill levels with the foods you normally pack until you find the sweet spot between fullness and a secure seal.
Choose the jar mouth to balance easy eating with heat retention. Wide-mouth jars make scooping and stirring simple; narrow-neck jars reduce the exposed surface area and cut convective heat loss. Slip a close-fitting insulating sleeve or carrier over each jar, and warm the empty jar with hot water for a minute before filling to reduce initial temperature drop. Plan portions using familiar household measures, such as a ladle or a mug, and pack hot and cold components in separate jars to avoid moisture transfer and help each element keep its temperature. Practise a few packed lunches at home to find sizes that fit your routine and lunch bag, and tweak jar shape and fill level depending on how you will eat or reheat the meal.


Choose insulation and materials to keep lunches hot for longer
When choosing a heat-retaining jar, match its volume to the portion and fill to within about 1 to 2 centimetres of the lid. That small gap reduces the amount of trapped air that cools food and limits convective heat loss. Aim for materials and insulation that slow the three ways heat escapes: conduction, convection, and radiation. Conduction is heat moving through solid materials, convection is heat carried away by moving air or vapour, and radiation is heat lost as infrared energy. A vacuum or good double wall cuts conduction and convection, a reflective interior reduces radiative loss, and a dense, inert inner surface such as stainless steel or glass holds heat and resists flavour transfer. Balance the trade-offs: vacuum-insulated stainless steel usually keeps food hottest and is durable, while glass is chemically inert but heavier, conducts heat more readily, and can fracture. Finally, test lids and seals in everyday use: a screw-top with a silicone gasket will retain steam and warmth, whereas wide mouths or vented lids let hot air escape.
A tight, leakproof lid traps steam, which helps keep food moist and warm, so always check the seal before relying on a jar for several hours. Warm the jar walls with hot water before adding hot food, then fill quickly to reduce heat loss. Pack dense, moisture-rich items together to minimise air pockets; these foods have higher thermal mass and cool more slowly than aerated items. Think about shape and insulation: taller jars with narrow necks reduce the surface area to volume ratio, thicker walls add thermal resistance, and an insulated sleeve cuts heat loss from convection while protecting hands. Run a quick performance check by filling the jar with hot liquid and comparing how much heat it loses to choose the best combination for your needs.
Maximising jar heat retention: preparation, materials, seals, and testing
- Pre-warm and pack correctly: rinse or pour hot water around the jar walls before filling, add hot food quickly, fill to within 1 to 2 centimetres of the lid to reduce trapped air, and press dense, moisture-rich items together to eliminate air pockets and increase thermal mass.
- Choose materials to match your priority: vacuum insulated stainless steel holds heat best by stopping conduction and convection, double-wall metal is a lighter compromise, and glass is chemically inert and resists flavour transfer but conducts heat more readily and can fracture; add a reflective inner surface or thicker walls to cut radiative loss and slow conduction.
- Optimise lids and closure: use a screw-top with a silicone gasket to trap steam and moisture, check that lids seat fully before relying on a jar for extended holding, and avoid vented or wide-mouth closures when long retention is needed. Inspect and replace degraded gaskets to preserve performance.
- Run simple performance and maintenance checks: do a quick hot-water or hot-liquid test to compare temperature loss between jars, look for hairline cracks or pitting that increase cooling, clean inner surfaces to prevent flavour transfer, and fit an insulated sleeve if convective loss or hand protection is a concern.

How to balance portability, weight, and practicality for school lunches
Measure real portions before you buy. A quick test at home will save surprises at lunchtime. Use a household mug or measuring cup to fill a typical lunch, then pick a jar that holds that volume plus about 10 to 20 percent headspace to reduce air gaps. Testing with your child’s usual meal gives a truer fit than labelled capacity. Consider how the jar will sit in a lunchbox or rucksack, and choose a size your child can comfortably lift and finish to limit waste. Understand how insulation works: vacuum insulation slows heat loss by removing air, foam reduces conduction but adds bulk, and single-wall jars lose heat fastest while weighing less. Compare performance using physics rather than marketing; vacuum-insulated jars generally retain heat far better for the same external size, but they are heavier and bulkier.
When choosing a food jar, focus on the design details that affect warmth and school practicality. A narrow neck reduces exposed surface area and slows heat loss, a wide mouth makes filling, stirring, and eating easier, and a tight, well-designed lid limits heat escaping and prevents spills. Balance portability and weight by choosing the smallest jar that still holds the meal. Add a lightweight insulating sleeve only if it improves grip or thermal performance without making packing bulky. Also think about how the jar sits in the bag, whether it will stand upright, and whether you need to pack utensils or an ice pack for other items. Run a simple test at home: warm the empty jar with hot water, pour the water away, then fill it with the meal. Use a food thermometer to record the starting temperature and the temperature after the amount of time the jar will spend in the lunch bag. Check ease of opening, whether it leaks, and how easy it is to clean. Use those measured results and your hands-on checks to choose the best compromise between warmth, weight, and practicality.


Streamline packing, reheating, and cleaning for busy school lunches
Building on the jar-selection and insulation checks above, choose a jar size that closely matches the amount of food, leaving little empty space. A fuller jar retains heat better because it contains more hot material to store warmth relative to its surface area, and a narrow neck reduces the exposed surface so food cools more slowly. Match the container type to the food. For soups, stews, and other liquids, use a double-wall vacuum-insulated flask to limit heat loss through conduction and convection. For solid foods, glass or single-wall jars work well, and a wide mouth makes packing, reheating, and washing easier. For transport, add a removable insulating sleeve to reduce extra heat loss, and remove it before reheating or washing so it does not get in the way.
A few simple habits will help keep jarred meals warm and fresh. Preheat each jar by filling it with hot water for a minute, empty it, then fill immediately while the food is very hot. Press down gently on loosely aerated items, such as porridge or mashed veg, to reduce internal air pockets that speed cooling. For reheating, either warm sealed jars in a hot water bath, or remove lids and silicone gaskets and transfer the contents to a microwave-safe dish so heat distributes evenly. Take lids and gaskets apart for regular cleaning: soak briefly, use a small brush to clear trapped residue, rinse with hot water, and leave to air dry completely to prevent odours and seal wear that can reduce thermal performance. Finally, run a few simple tests with a food thermometer to compare jar sizes, fill levels, and insulation methods; note how long each option keeps food at your preferred serving temperature, then standardise the combination that best fits portion sizes, menus, and travel conditions.
As a quick practical recap, choose a jar sized to the cooked portion and reduce headspace. Weigh portions on a kitchen scale and pick a jar that leaves only 1 to 2 centimetres of air beneath the lid. Narrow-neck, thick-walled, or vacuum-style containers with a close-fitting lid hold heat and moisture best. For an extra boost, warm the jar before filling by rinsing it with hot water, then fill straight away.
To confirm what works for your routine, run a few trial lunches at home, varying portion size for your child's age, jar shape, insulation, and how you'll carry it. Note how long foods stay at serving temperature and how much actually gets eaten. Settle on the jar, fill level, and routine that give the best real-world results, and use that short trial as your practical checklist for reliably warm lunches.